Customization options for sponsored listings campaign creation
Beta product
This product is currently in beta. It may not be available to all Kevel customers, and features described may change before the product is generally available.
With Kevel Self-serve, you can empower your advertisers to create, manage, and report on their own sponsored listings campaigns.
With sponsored listings campaigns, advertisers select products to promote from your product catalog and target search keywords and/or categories. By choosing a budget and with a CPC bid or maximum bid, they are able to participate in a 1st or 2nd priced auction to compete for visibility among your sponsored listings placements.
When setting up your self-serve tool, your Kevel account team will work with you to understand your preferences for the following settings.
Background settings
These settings are never exposed to your advertiser, but are required in order for self-serve campaigns to work correctly.
Priority ID
Provide Kevel with the name and ID of the priority to be used when advertisers create sponsored listings campaigns in self-serve. All self-serve campaigns will use the same priority.
The priority must have an auction selection method. First and second pricing are both accepted.
Catalog ID
The ID of the catalog you want advertisers to select from when choosing which products to promote.
Note that the catalog must include the parameters listed in the technical requirements section.
Ad template ID
An Ad Template is a set of mappings that correlate properties of Catalog items to Ad and Creative attributes. You can set one up with your Kevel team. See more details here: Linking Catalog Items to Ads
Universal flight settings
The following settings will be applied to all flights created within Self-serve campaigns.
Attribution settings (optional)
Optionally, you can choose attribution settings that will be applied to all campaigns created by advertisers using your self-serve tool. Learn more at Kevel Attribution.
- Post-click lookback window: None, 1 day, 7 days, 14 days, or 30 days
- Post-click match type: Same product (SKU match), Same Category & Brand, or Same Brand
- Post-view lookback window: None, 1 day, 7 days, 14 days, or 30 days
- Post-view match type: Same product (SKU match), Same Category & Brand, or Same Brand
eCPM settings (optional)
By default, eCPM optimization uses Kevel's default recommended settings, which you can find on the Setting up an Auction page.
Optionally, you can specify different eCPM settings to be used with all campaigns created by advertisers using your self-serve tool. These are:
- Optimization time frame
- eCPM multiplier
- Floor eCPM
- Ceiling eCPM
Burn-in settings (optional)
By default, Kevel's default recommended burn-in settings are used. You can find these on the Setting up an Auction page.
Optionally, you can specify different settings for
- Default eCPM
- Burn-in impressions
Campaign creation steps
When advertisers create sponsored listings campaigns in your Self-serve tool, they will navigate through a set of predefined steps.
The following section explains your options for customization in each of these steps.
1 - Campaign Setup
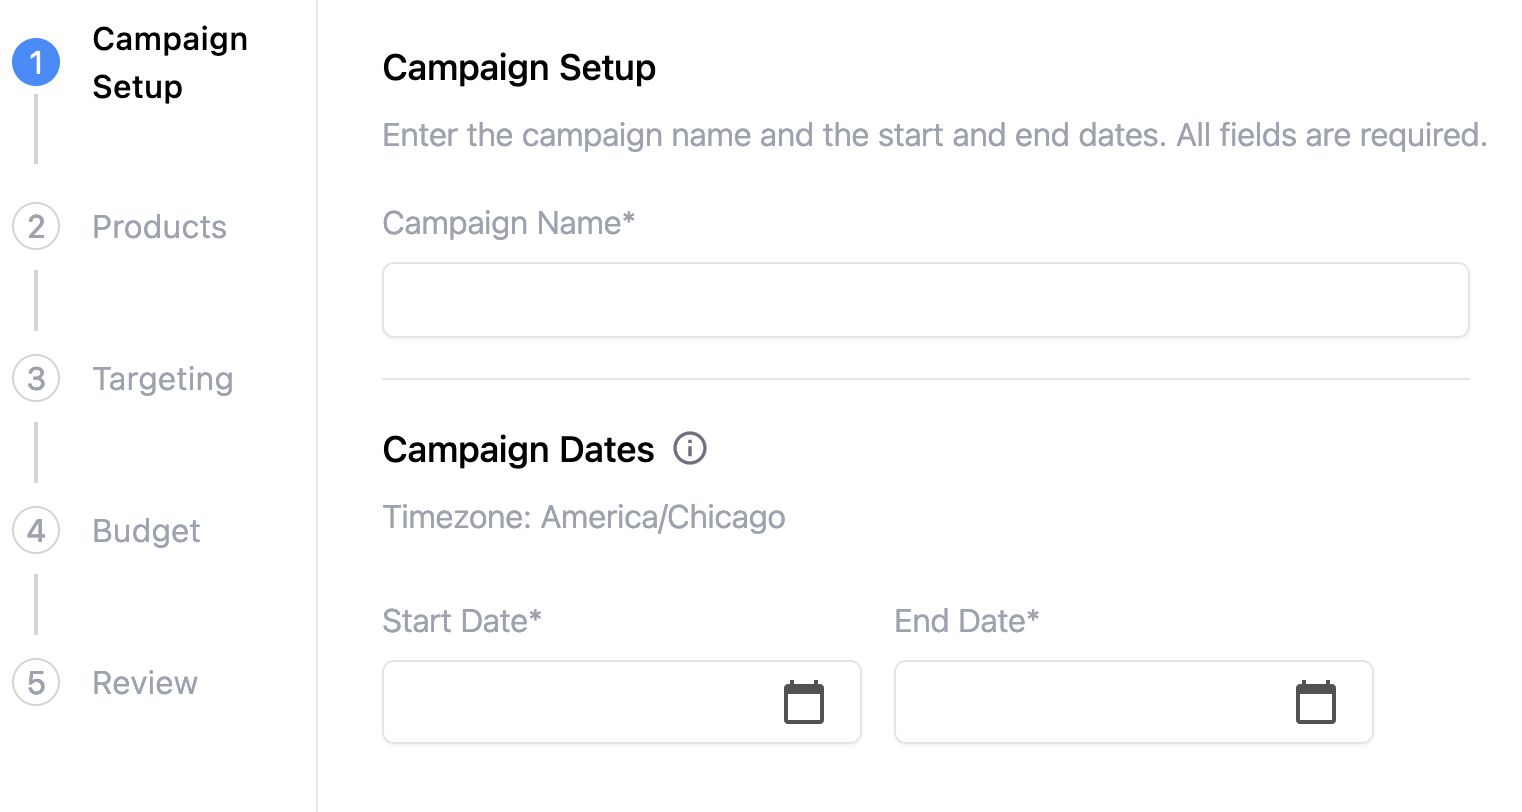
Step name and description
You can customize the name and description of this step.
By default, the step name is "Campaign Setup" and the description is "Enter the campaign name and the start and end dates. All fields are required."
End date required?
Choose whether or not advertisers will be required to set an end date on their campaigns.
Minimum campaign duration
Optionally, choose a minimum number of days that an advertiser's campaign must last. For example, some publishers choose to enforce a campaign duration of at least 30 days.
Error message
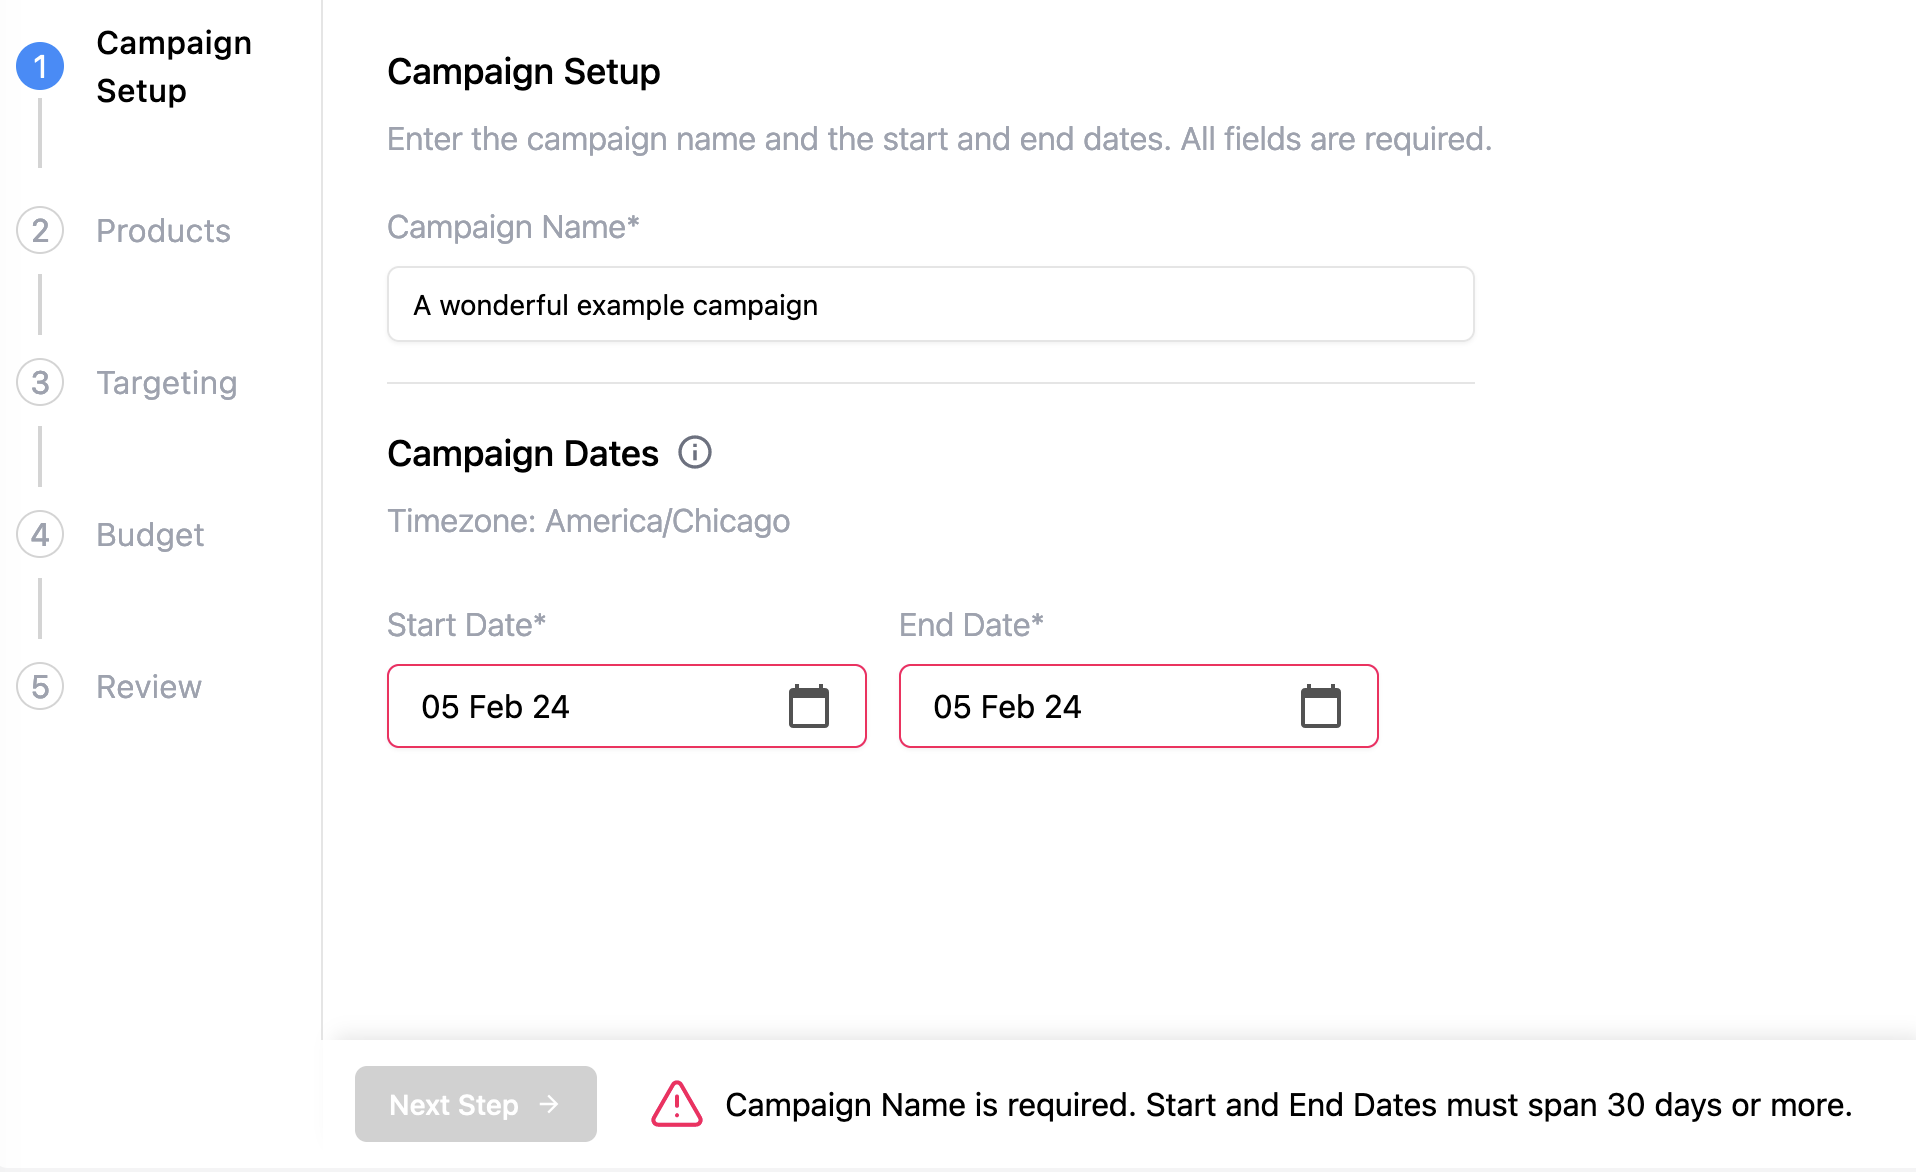
You can customize the error message an advertiser receives if fields are not filled out as required.
By default, the error message is "Campaign Name is required. Start and End Dates must span 30 days or more."
2 - Products
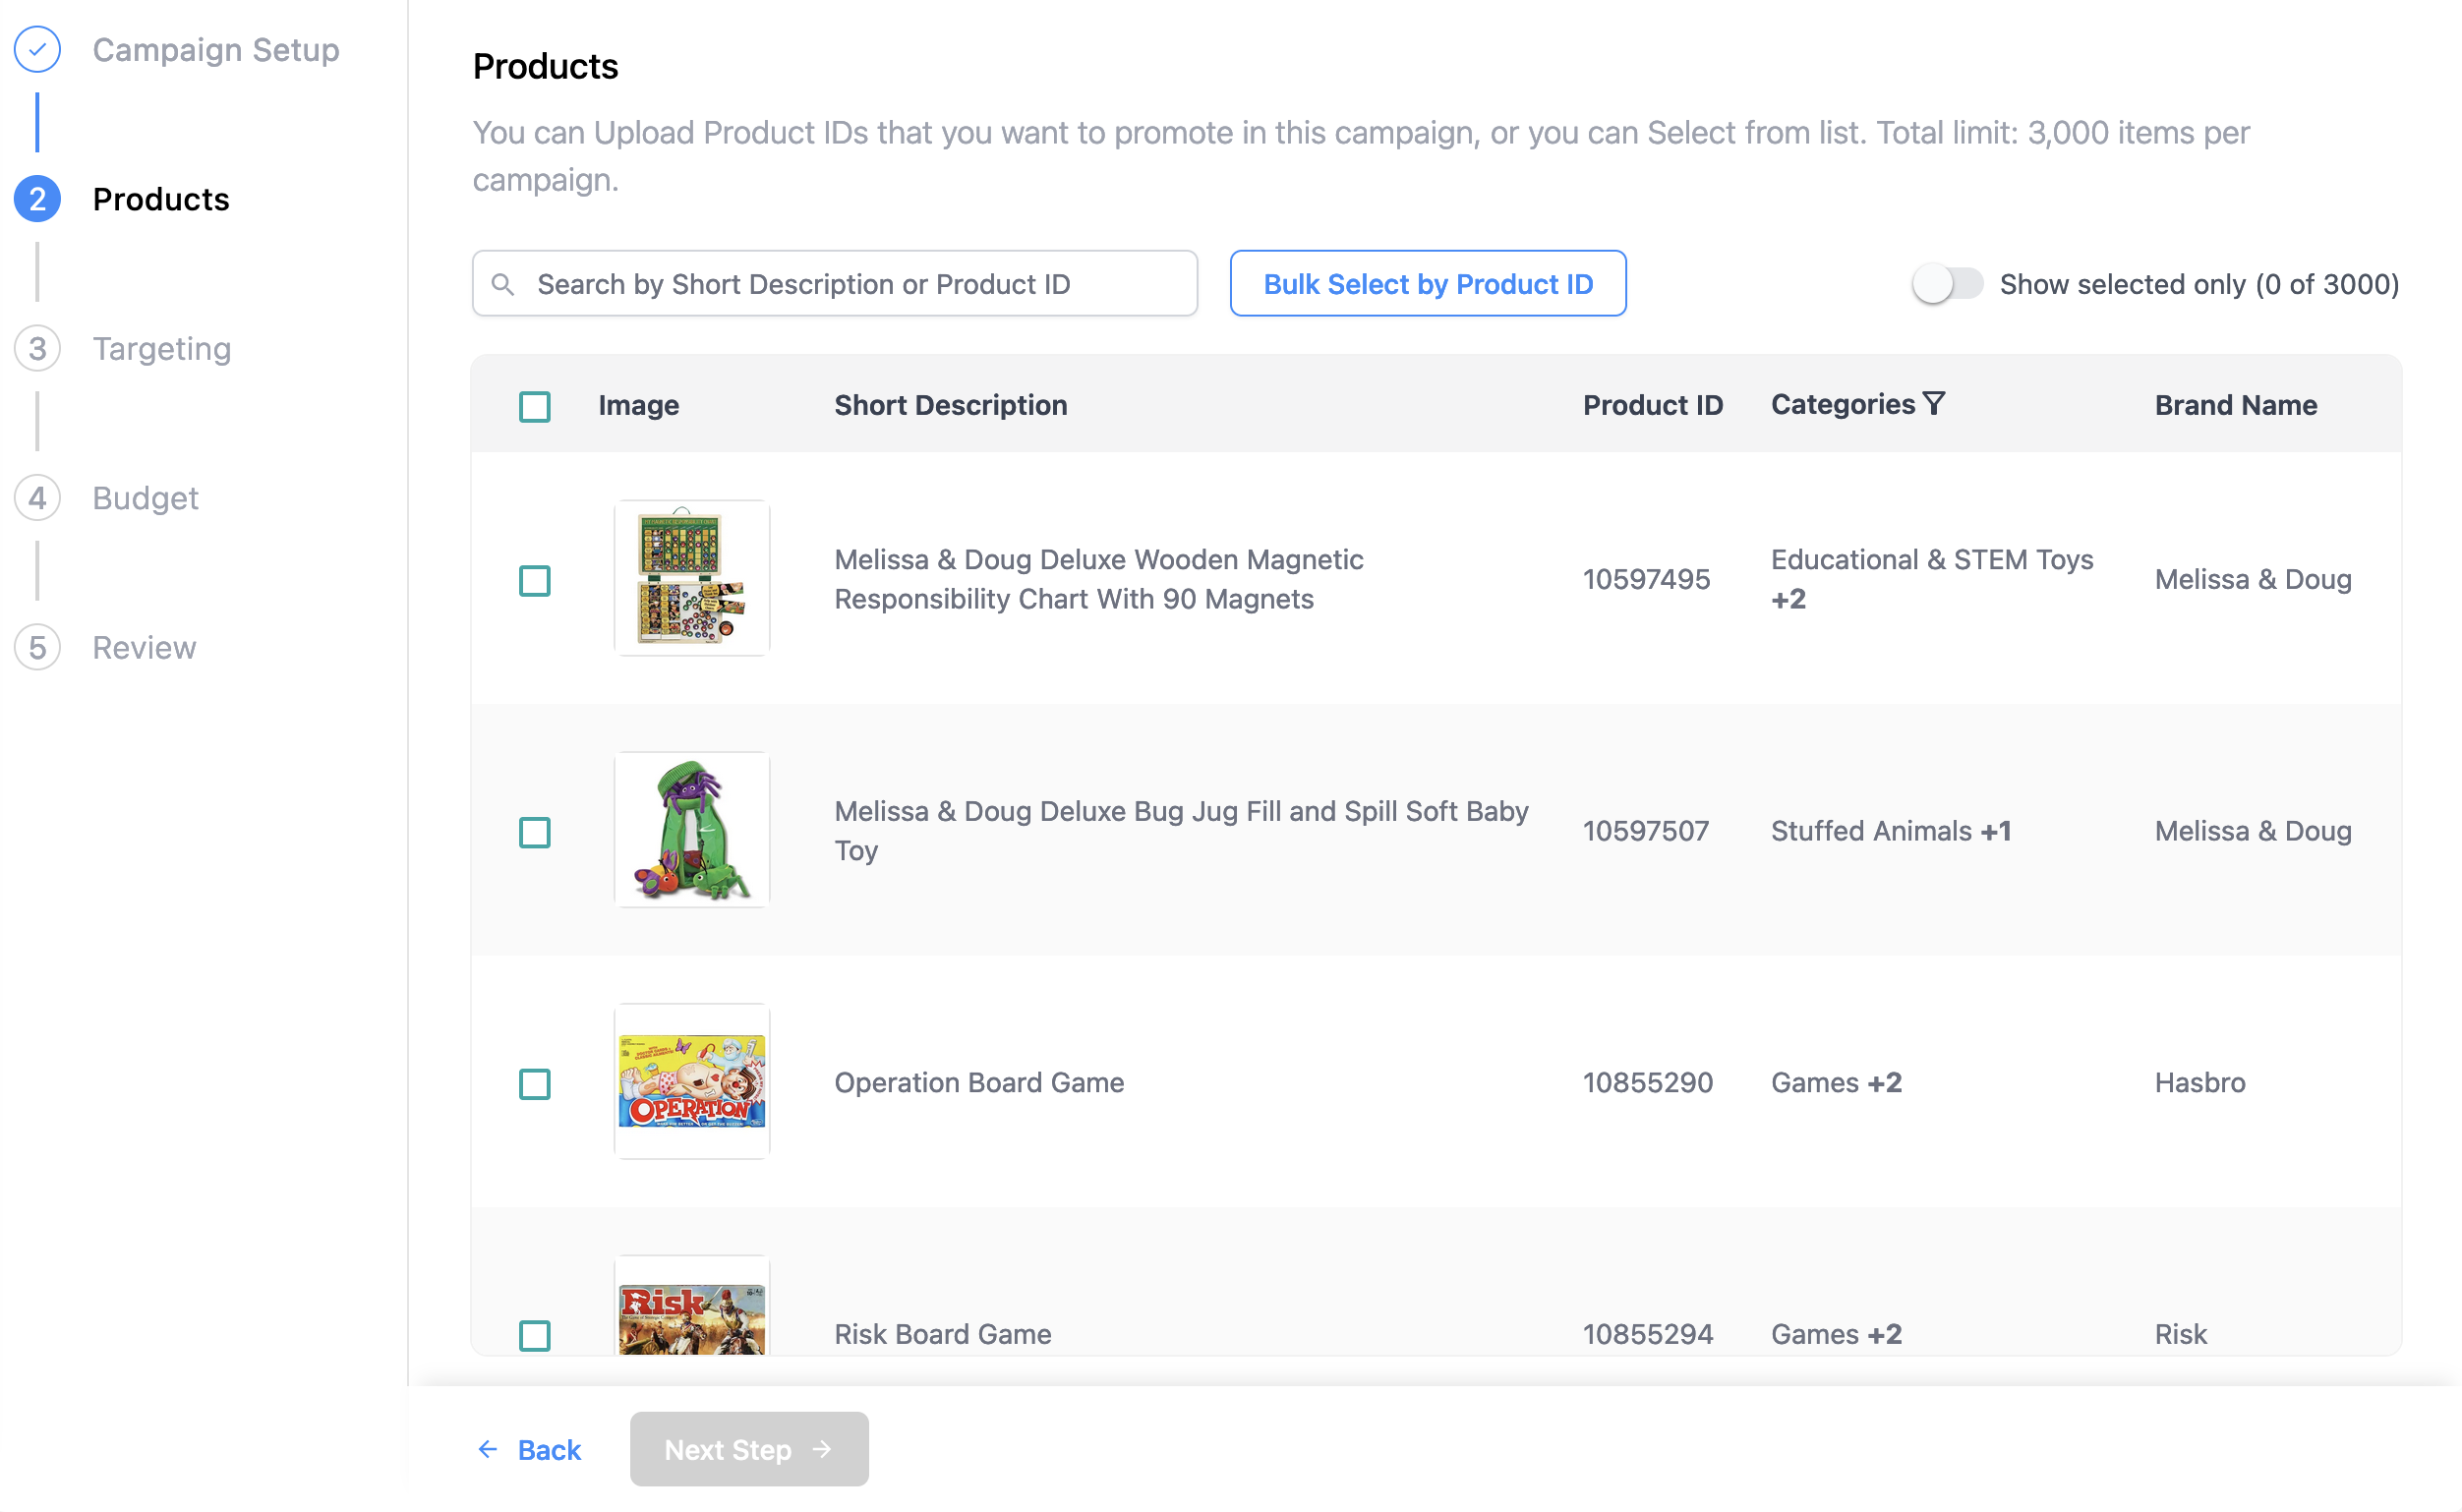
Step name and description
You can customize the name and description of this step.
By default, the step name is "Products" and the description is "You can Upload Product IDs that you want to promote in this campaign, or you can Select from list. Total limit: 3,000 items per campaign."
Number of products
Optionally, you can select a minimum and/or maximum number of products that an advertiser can promote on a single campaign.
The default minimum is 1, and the default maximum is 3000. Note that Kevel's system maximum is 3000 products per campaign.
Error message
You can customize the error message an advertiser receives if an incorrect number of prodcuts are selected.
By default, the error message is "At least one product is required."
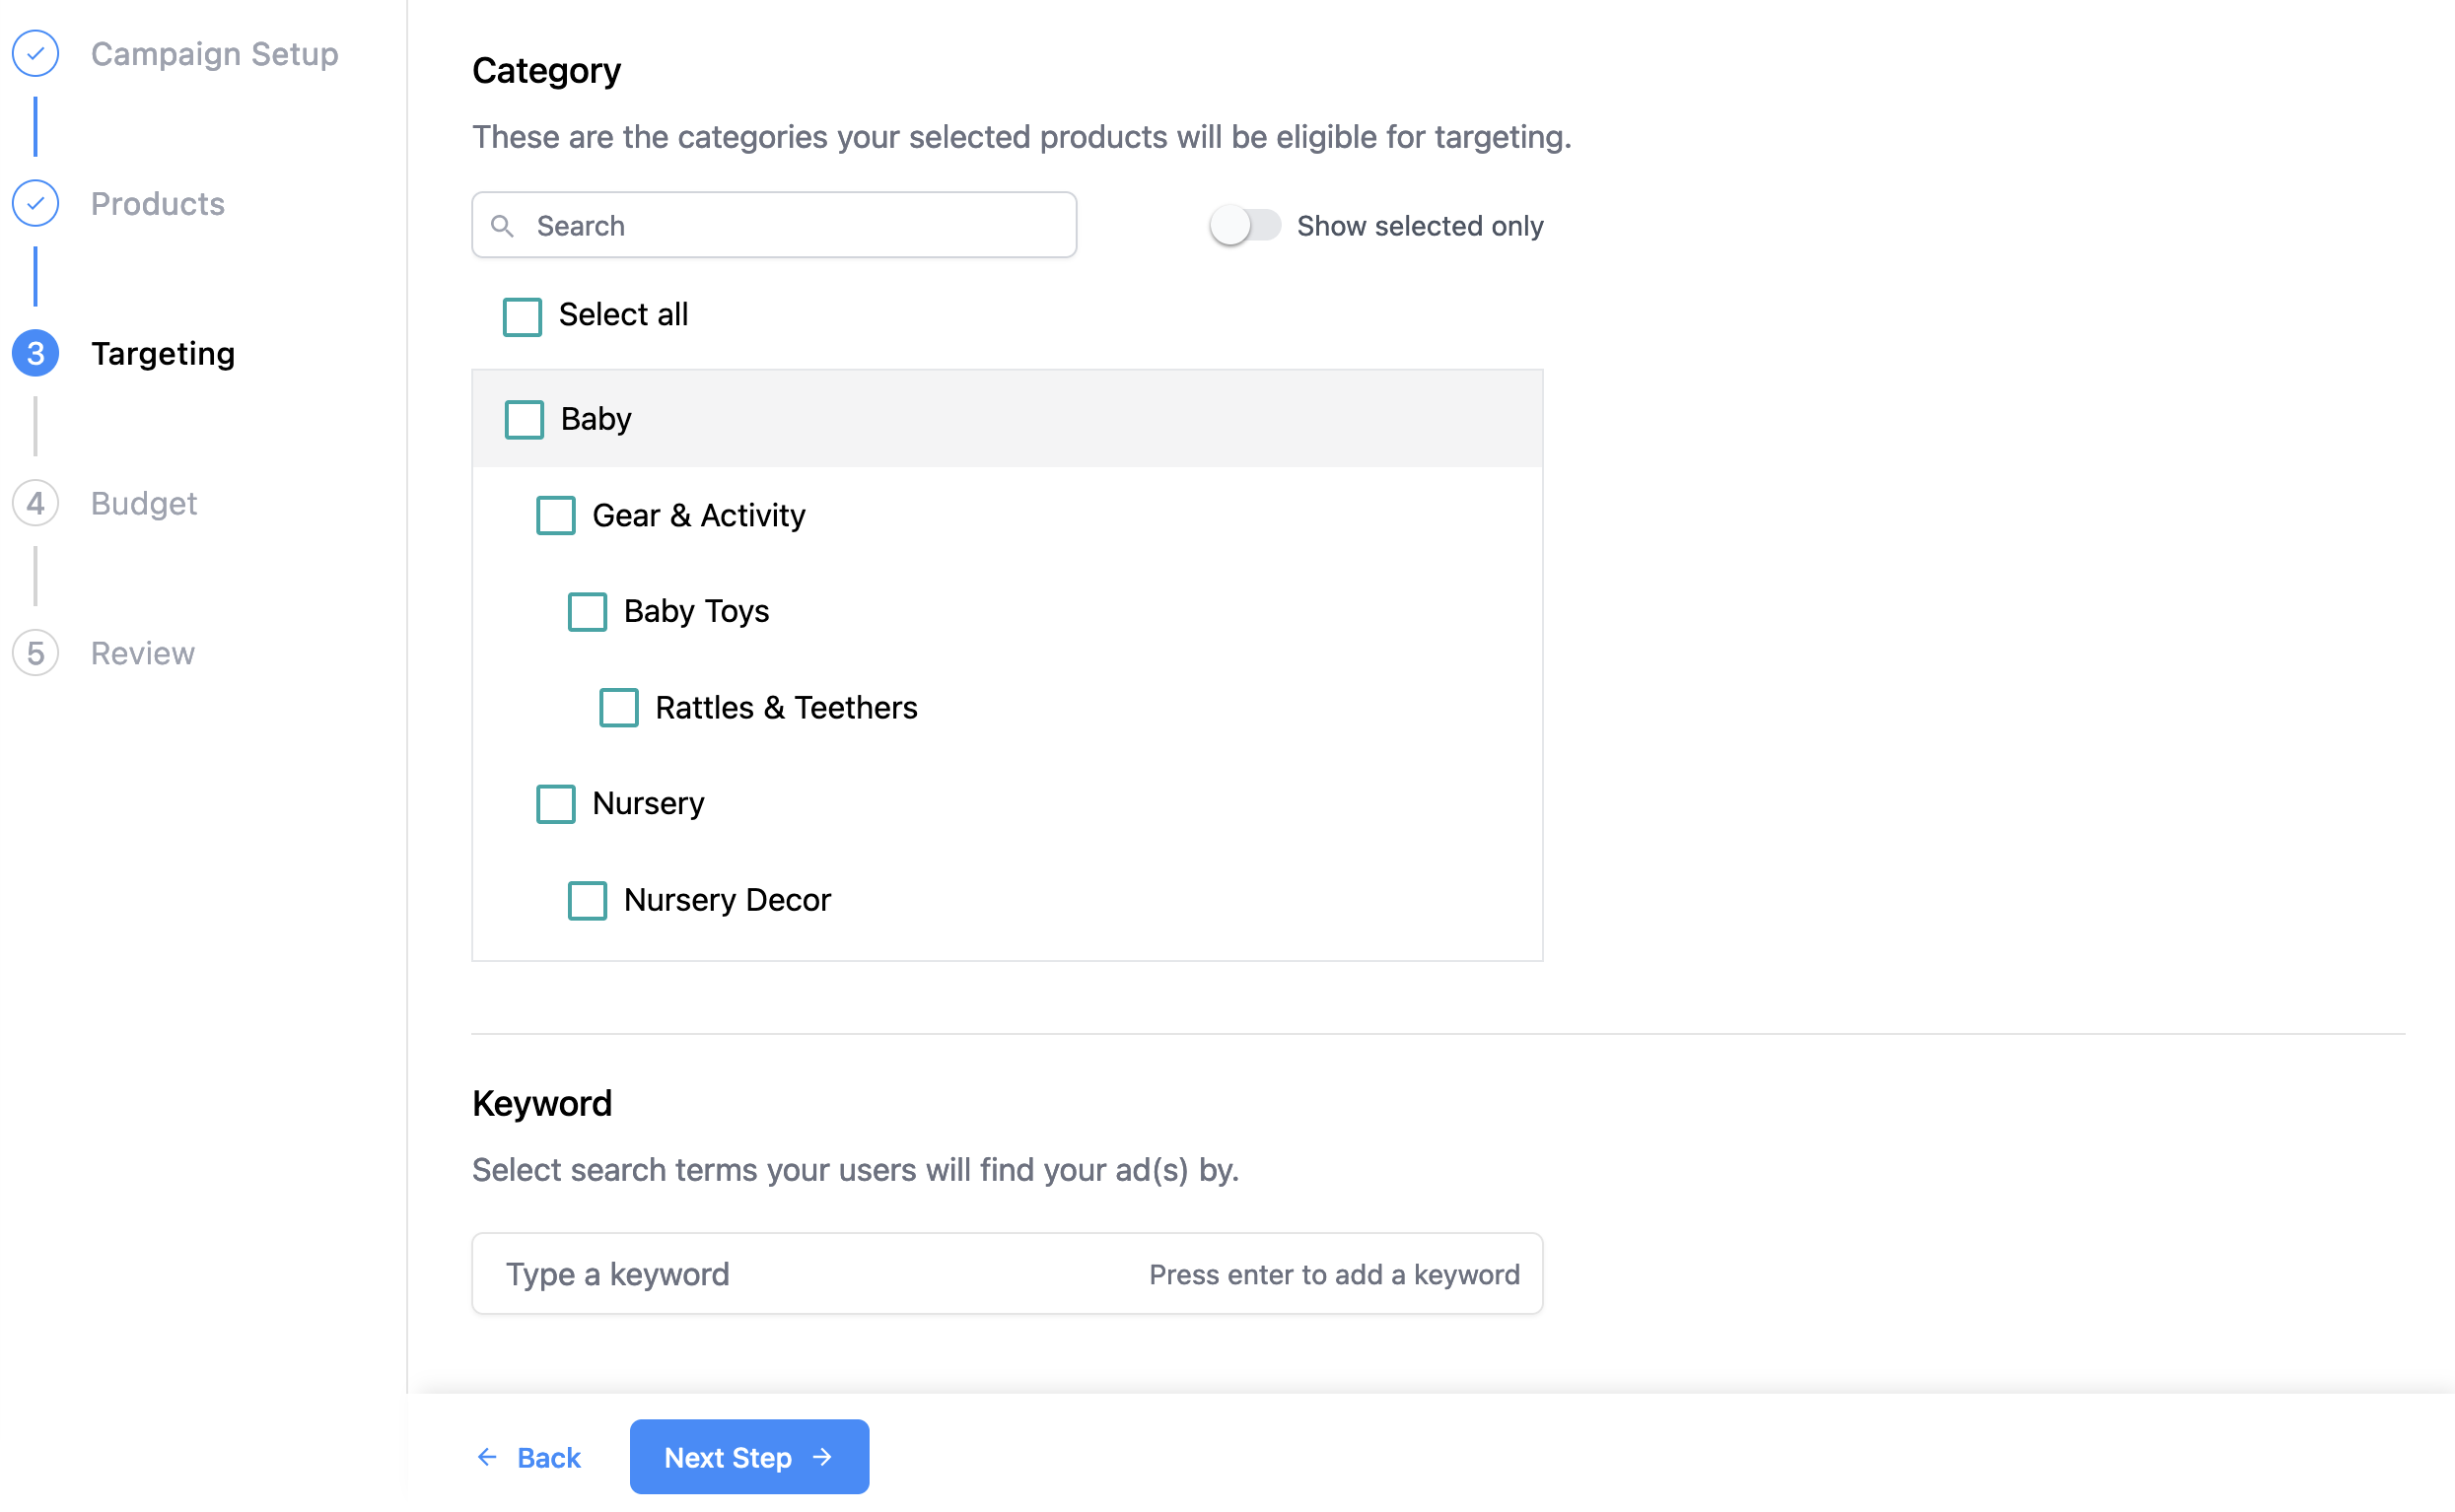
3 - Targeting (optional)
Including a targeting step is optional. You may choose to omit this step if you prefer not to offer search keyword or category targeting options to your advertisers.
Step name and description
You can customize the name of this step.
By default, the step name is "Targeting."
Category targeting
You can choose whether or not to allow your advertisers to specify which categories they prefer to target for their products.
If you prefer not to enable category targeting, you can still have product ads target automatically to their categories per your catalog. To enable this, ask your Kevel account manager about enabling product category mapping in your ad template.
If enabled, this step will display all categories that are available to target based on the product selected in the prior step. Products cannot be targeted to categories to which they do not belong per your catalog, but an advertiser can prevent a relevant category from being applied to a product as a targeting criteria from leaving the category de-selected.
Category targeting name & description
If you choose to use category targeting, then you can customize the name and description of this field.
By default, the name is "Category" and the description is "These are the categories your selected products will be eligible for targeting."
Keyword targeting
You can choose whether or not to allow your advertisers to add keywords to their campaign for targeting. This is commonly used for search keyword targeting.
Note that keywords will be added to the flight using "OR" operator logic. For more details, see Keyword Logic.
Keyword targeting name & description
If you choose to use keyword targeting, then you can customize the name and description of this field.
By default, the name is "Keyword" and the description is "Select search terms your users will find your ad(s) by."
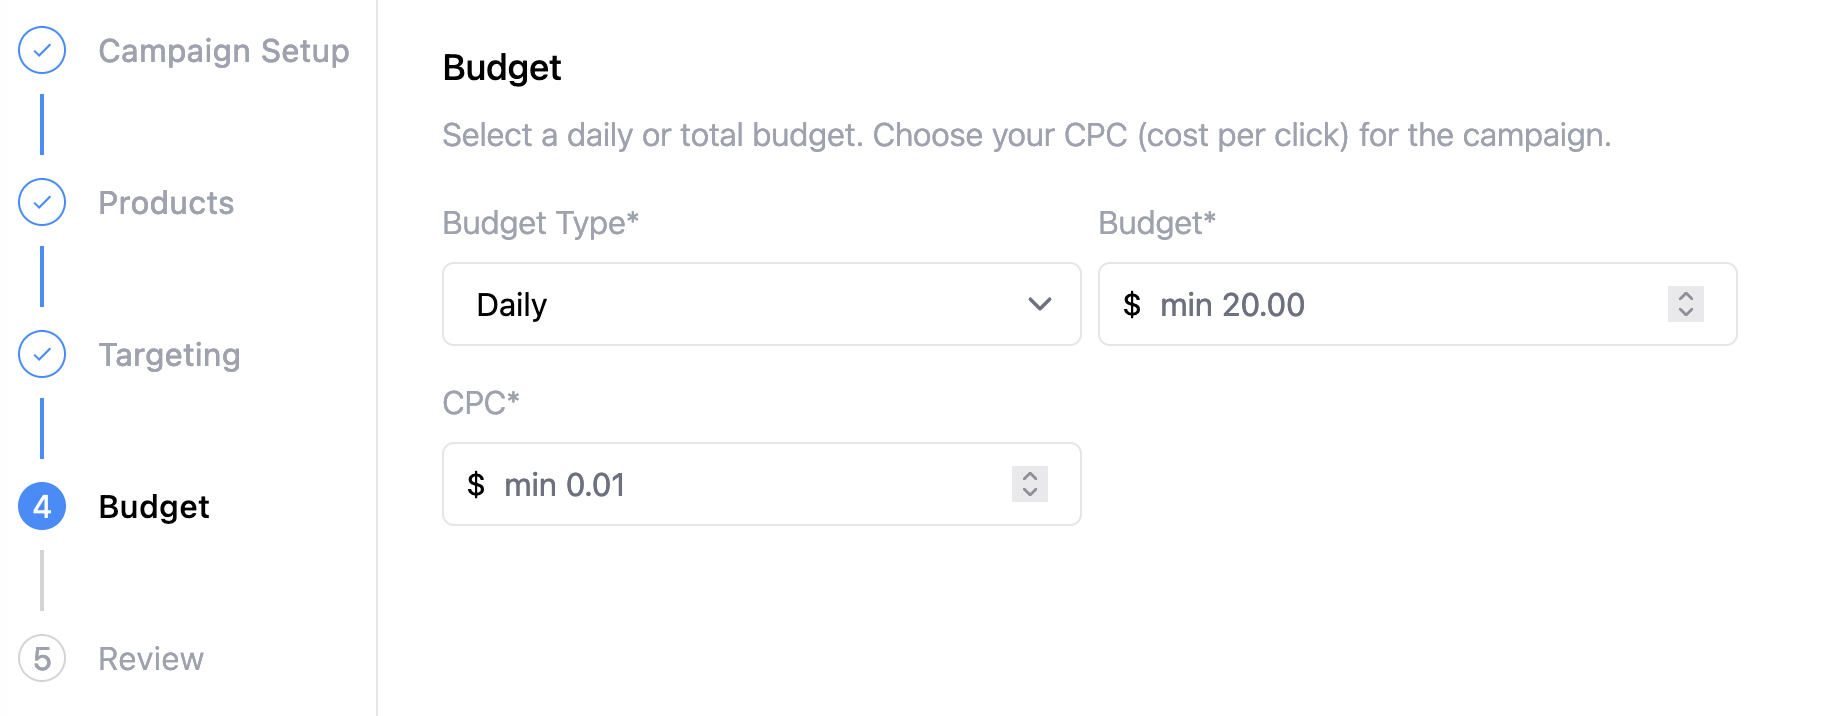
4 - Budget
Step name and description
You can customize the name and description of this step.
By default, the step name is "Budget" and the description is "Select a daily or total budget. Choose your CPC (cost per click) for the campaign."
Auction type
If your auction uses first pricing, then this step will request a CPC (cost per click).
If your auction uses second pricing, then this step will request a maximum CPC.
Budget types
Choose whether to enable your advertisers to set a daily or total budget, or let them choose between the two.
Minimum CPC
Optionally, you can select a minimum CPC. By default, the minimum is $0.01.
Minimum budget
Optionally, you can require minimum budget amounts. By default, the minimum daily budget is $20 and the minimum total budget is $100.
Error message
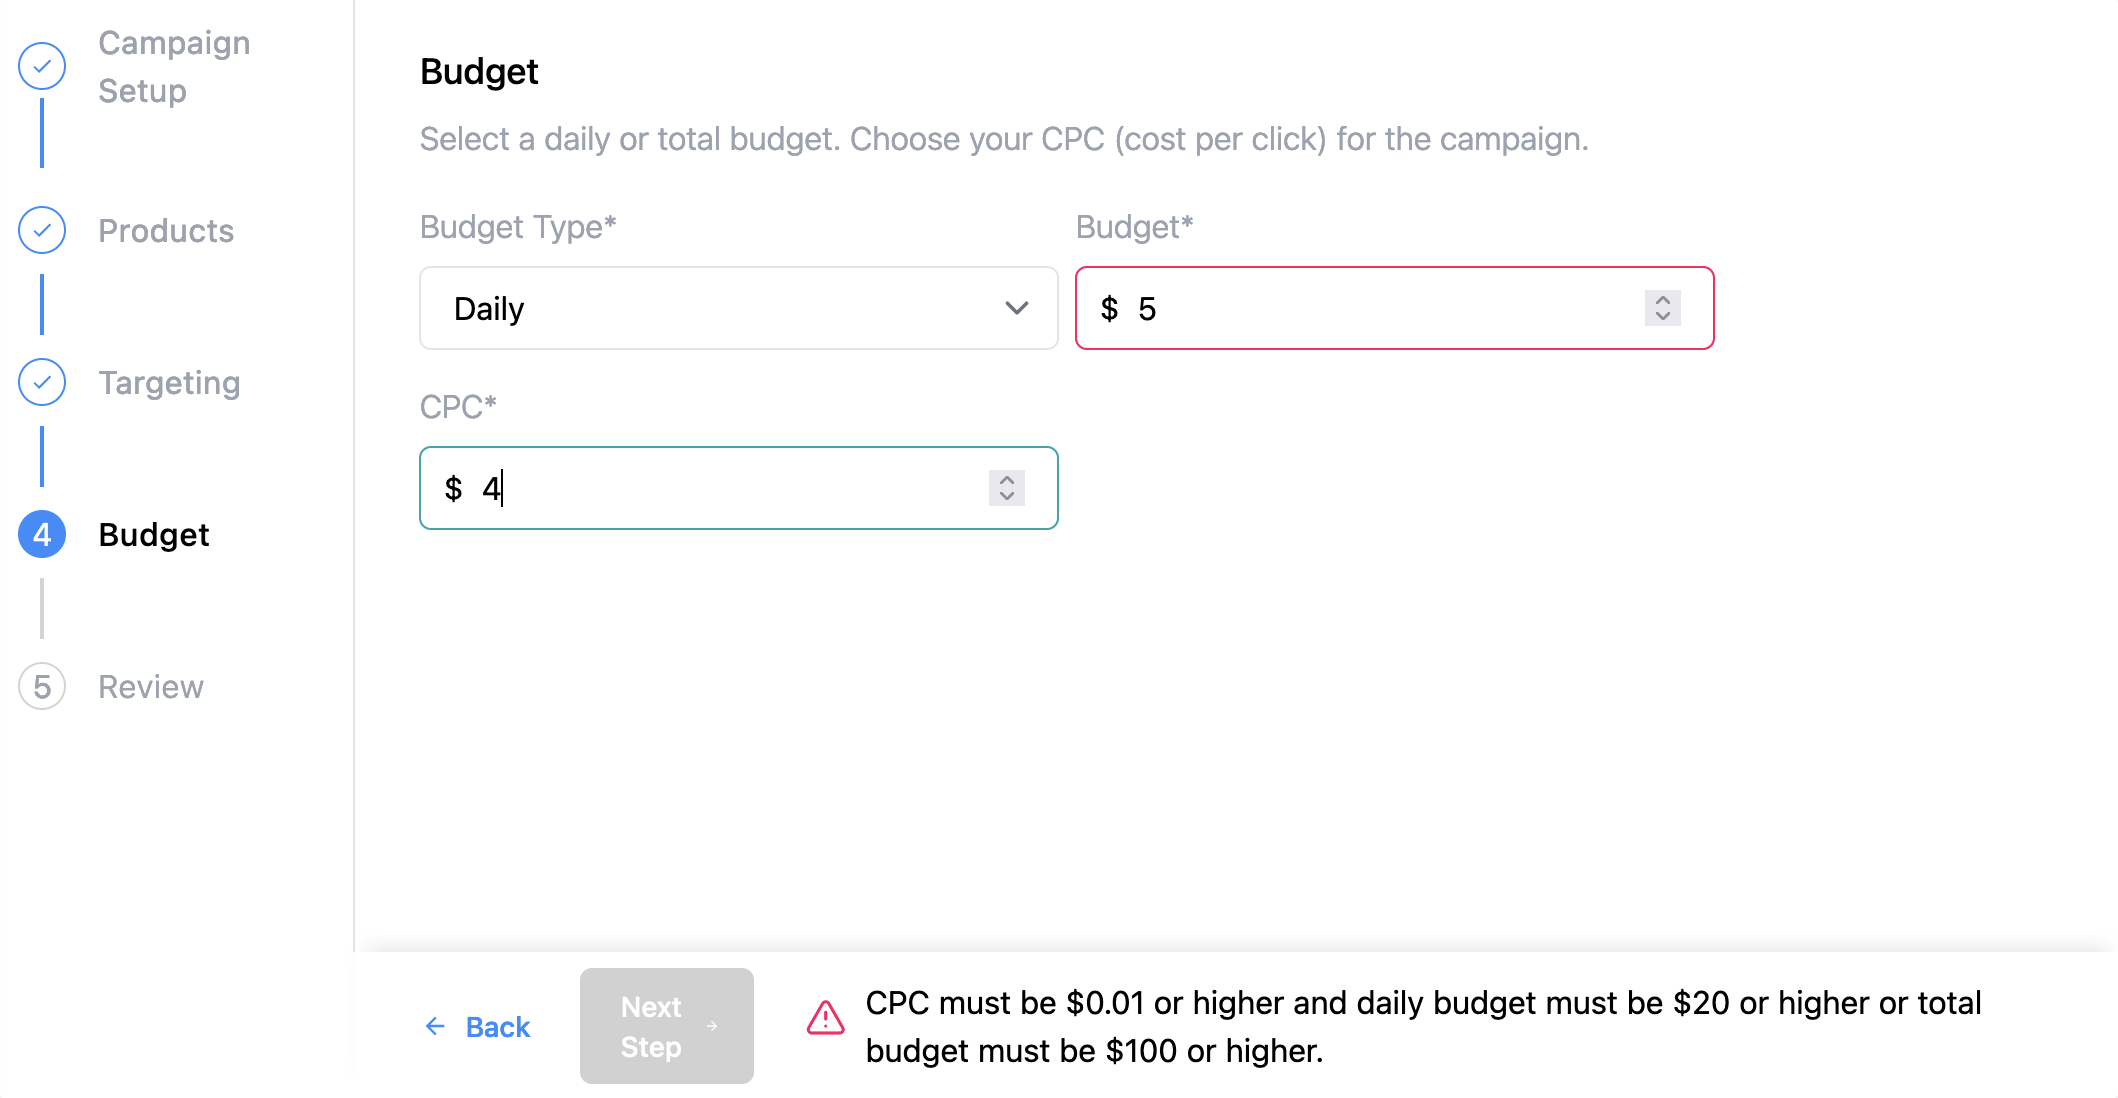
You can customize the error message an advertiser receives if fields are not filled out as required.
By default, the error message is "CPC must be $0.01 or higher and daily budget must be $20 or higher or total budget must be $100 or higher."
5 - Review
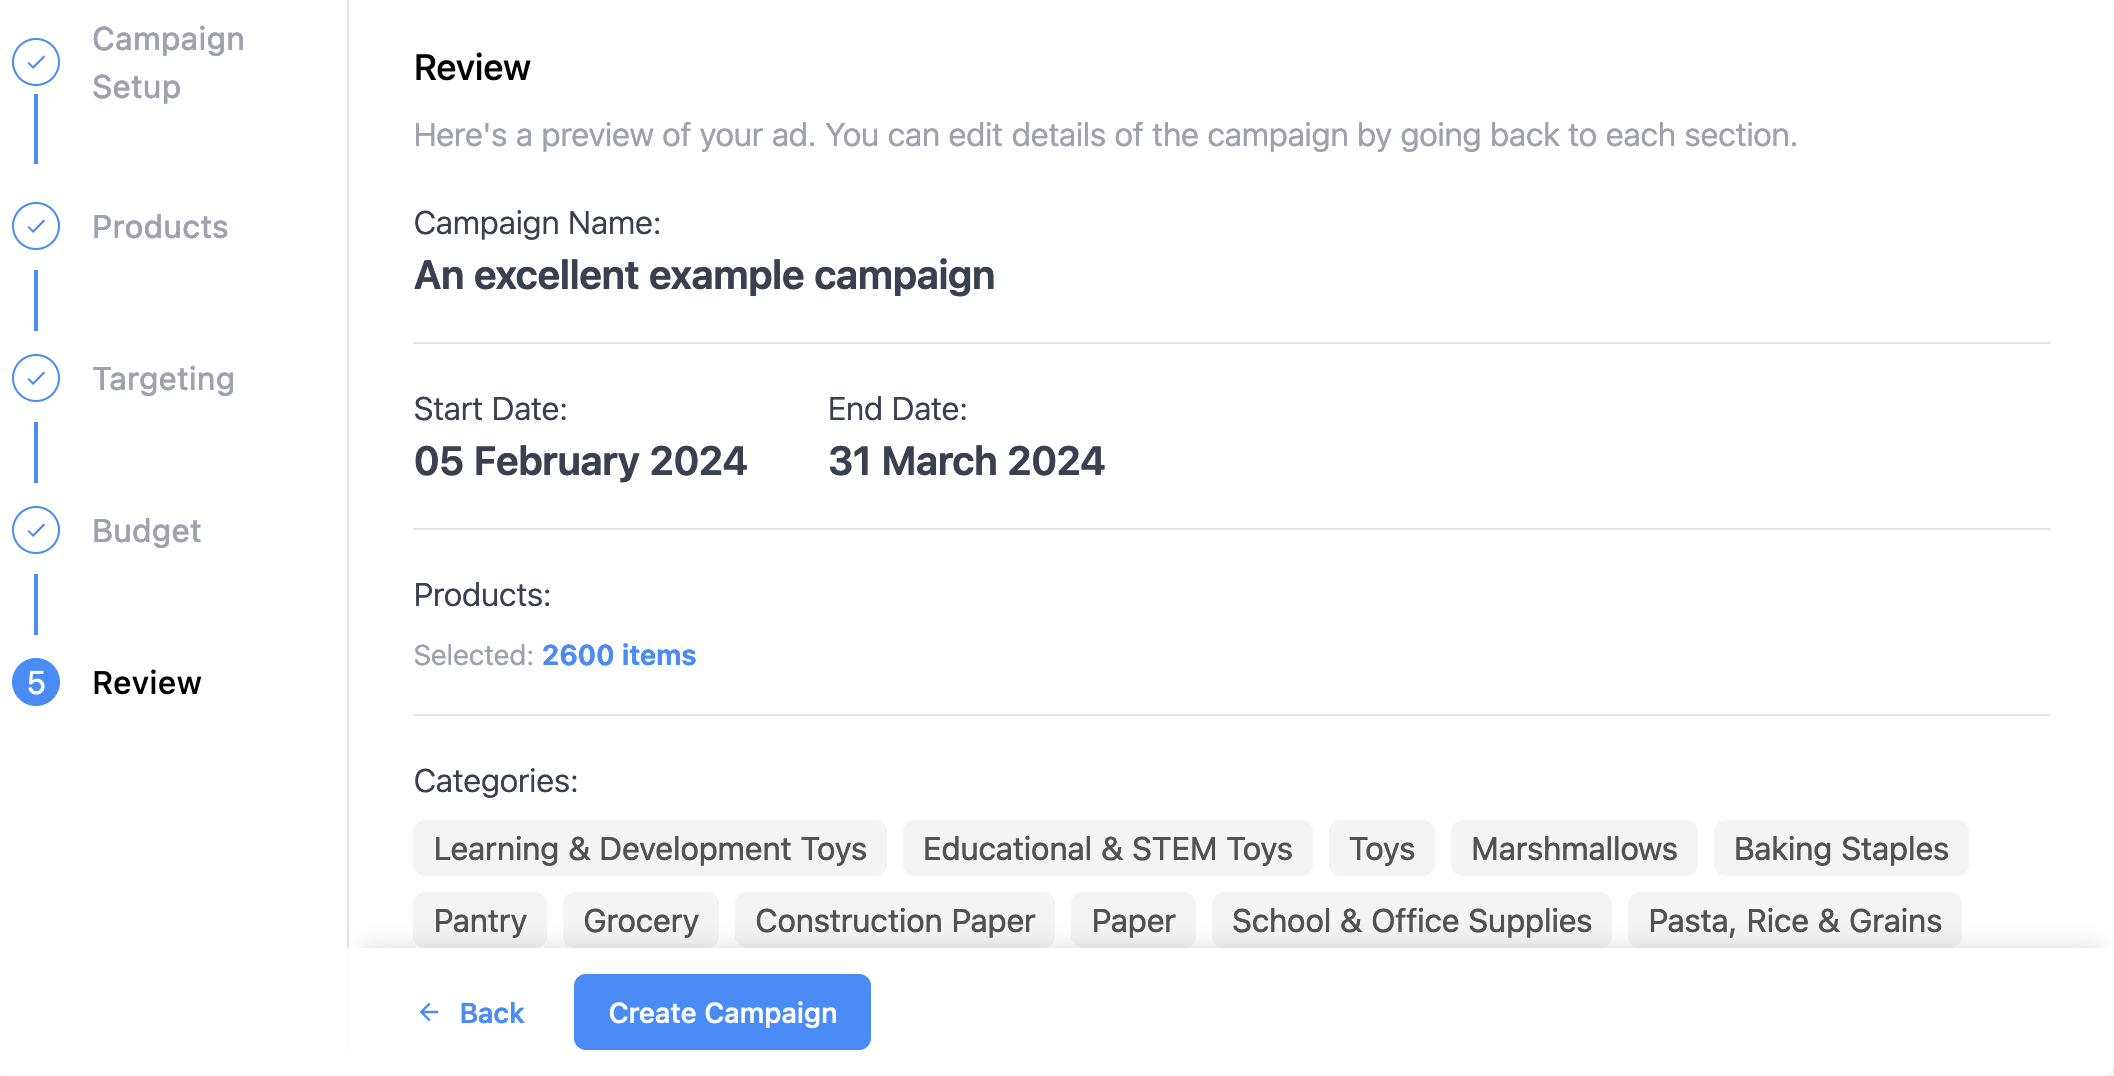
Step name and description
You can customize the name and description of this step.
By default, the step name is "Review" and the description is "Here's a preview of your ad. You can edit details of the campaign by going back to each section."
Updated about 1 month ago